IMPORTANT NOTE: Since 1/12/22, our phishing IP changed from 195.81.120.238 to 5.22.210.124
Introduction
In case your organisation uses services outside of the mail services used (Microsoft, Google…) to check all incoming emails and their links (like Symantec (Broadcom) Messagelabs (Security.cloud), Mailwasher, ZeroSpam, Spambrella…), this guide will be relevant for you.
These services have the ability to whitelist certain IP addresses or mail senders, but often they do still open and check the links in those emails. This can lead to false reporting of “clicked” and “opened” statuses in RESPONSUM Phishing campaigns.
Solution
If the above applies to you, we can offer a custom solution to prevent this behavior in the future. With this approach we will setup a direct path for the mails to travel from our mail servers to your organisations mail server.
For this direct link to be made, a few steps are required to follow:
Step 1: Create a connector
For our mailserver to be able to contact your mailservers directly, a connector needs to be created. Follow the steps below to create the connector in 0365:
- Navigate to admin.exchange.microsoft.com (Be sure to have a privileged/admin account to be able to access and execute the next steps);
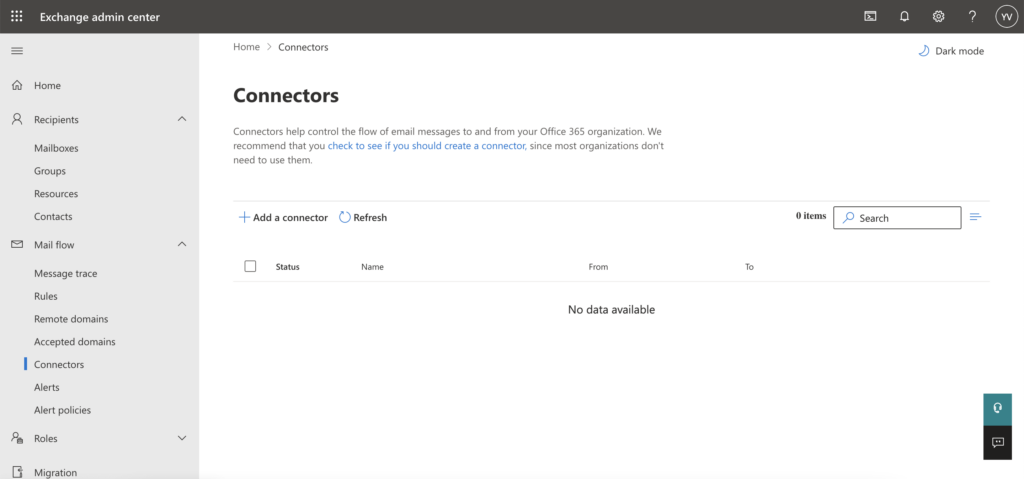
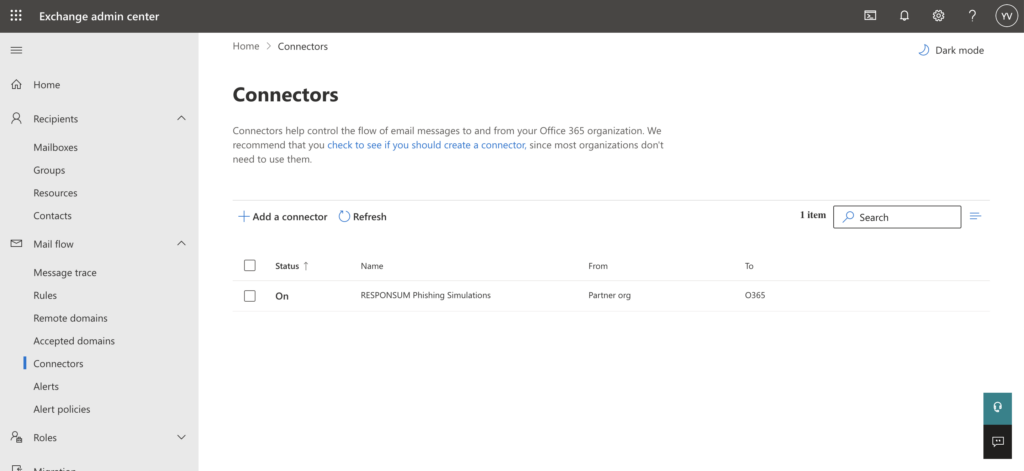
- In the left menu select Mailflow > Connectors and press “Add a connector”;
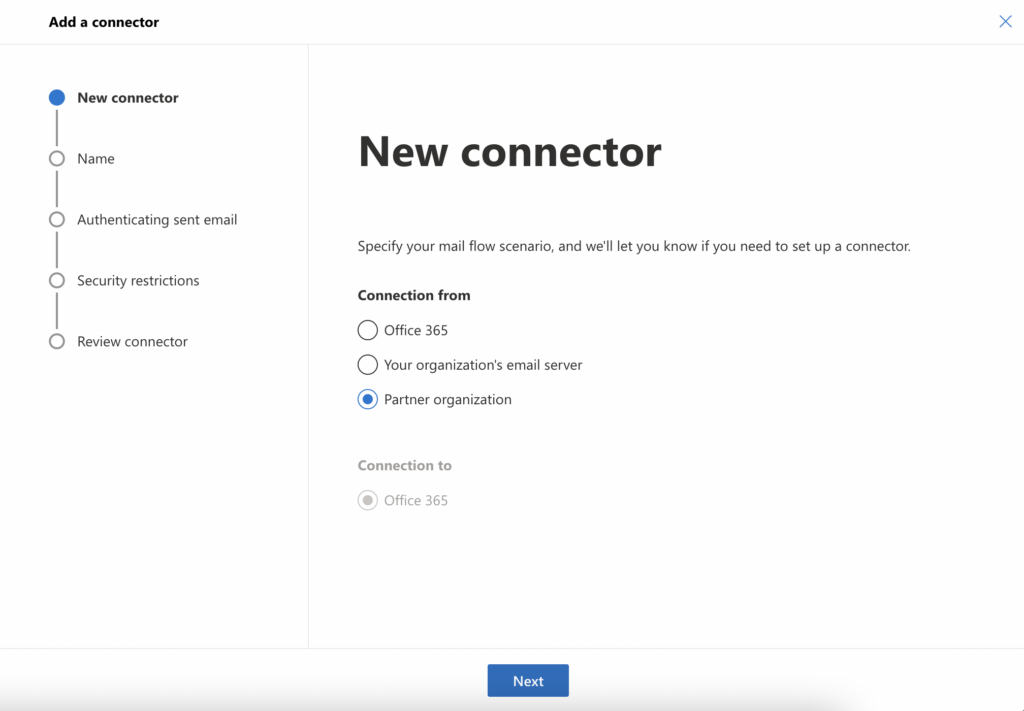
- For the first step, select “Partner organization”;
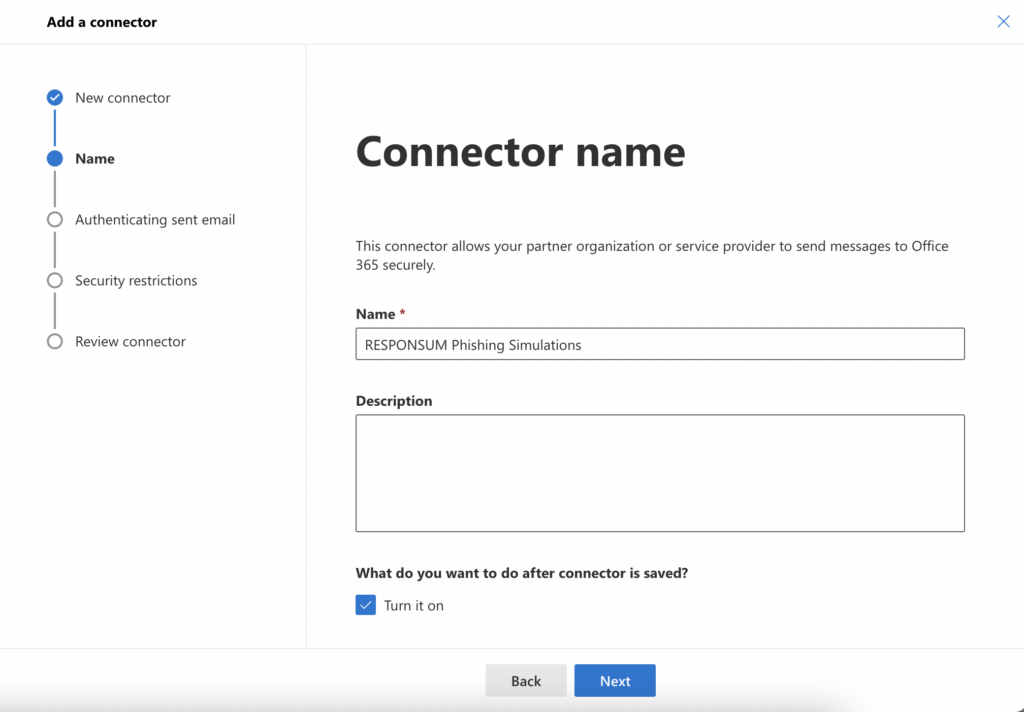
- Give the connector a suitable name (and optionally a description) so that you recognise it later on (the example in the image can be used);
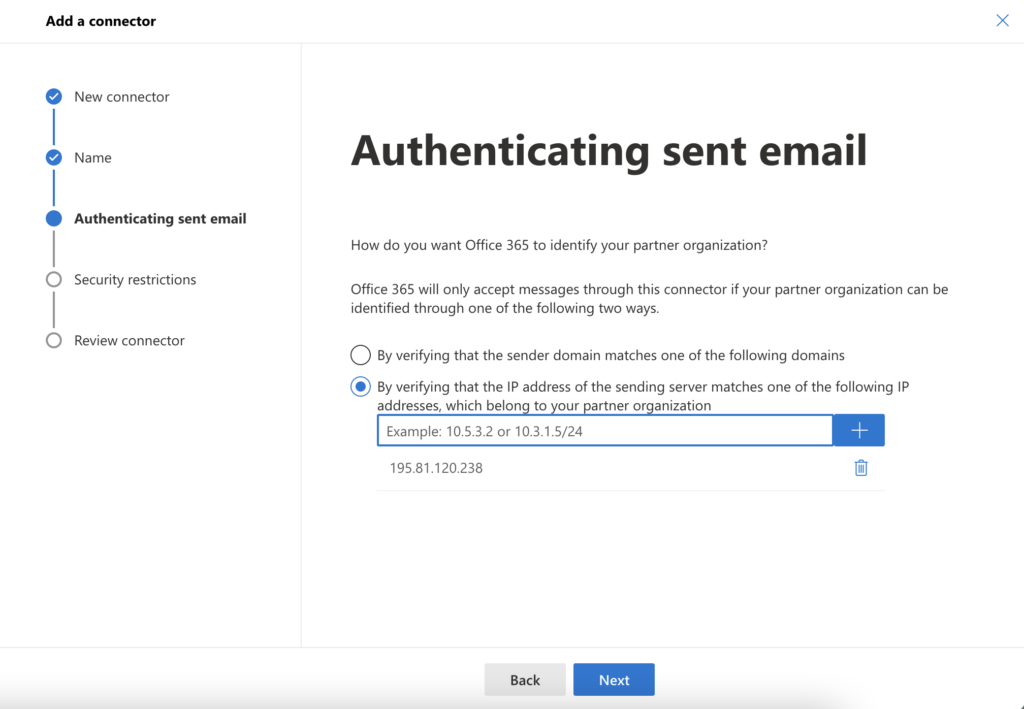
- In this step, set it to use an IP address. Input the address of our mail server (5.22.210.124) and press the + icon to add this IP address;
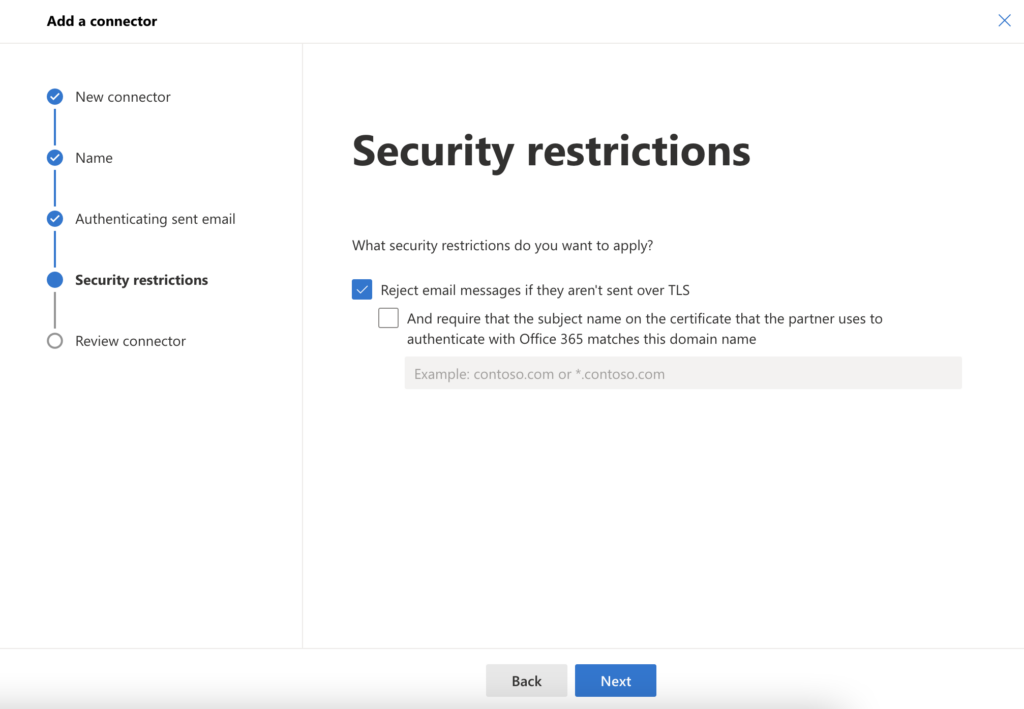
- The security restrictions can be left as the default (see in the image below);
- Review the connector you setup and press “Create connector” to finish adding the connector. A confirmation message will be shown.


Step 2: Find your mailserver hostname
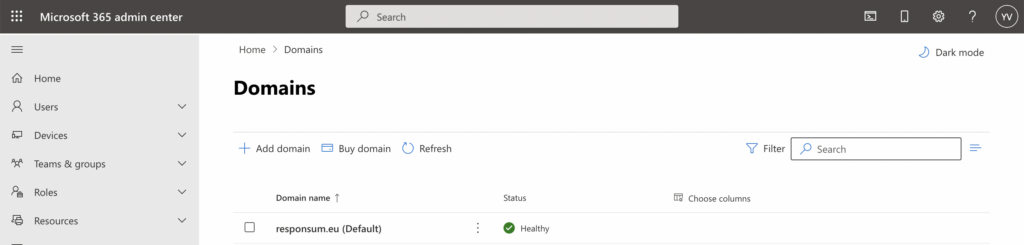
- Navigate to admin.microsoft.com (Be sure to have a privileged/admin account to be able to access and execute the next steps);
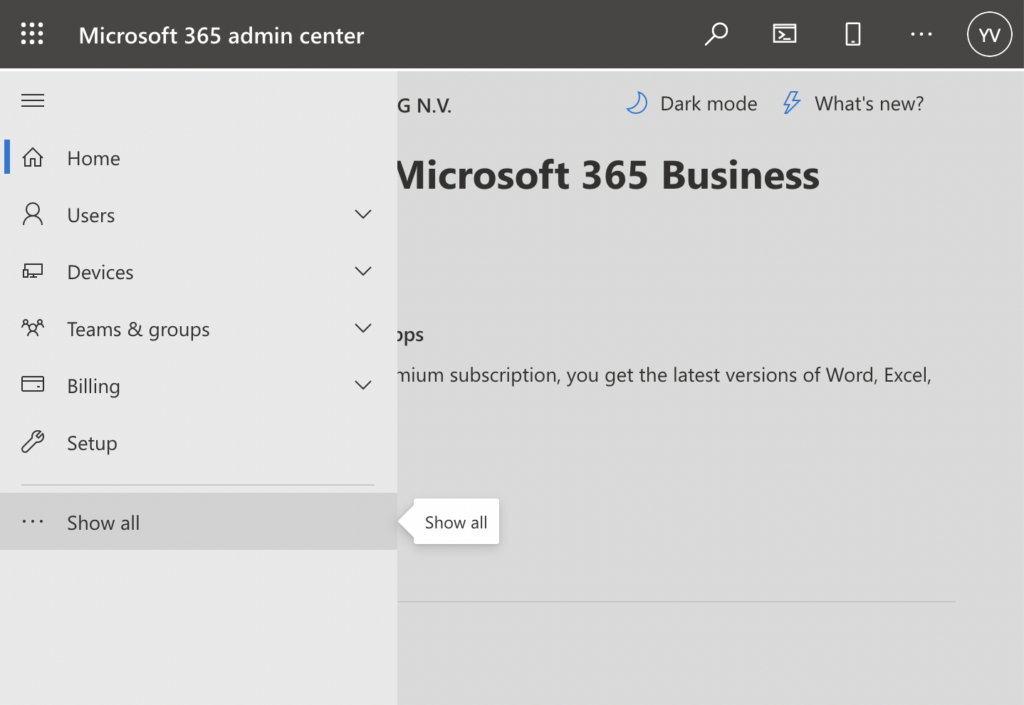
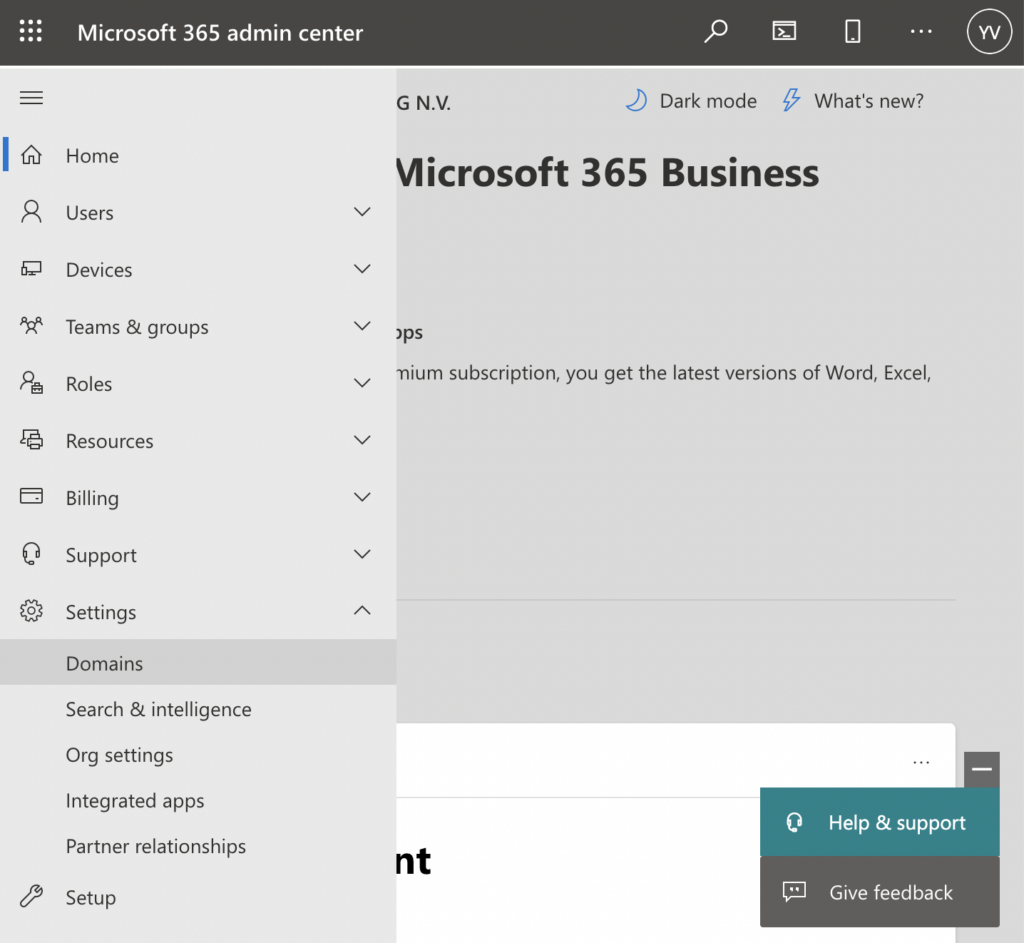
- In the left menu select Settings > Domains (In some cases, it might be needed to press “Show all” in the menu first before you see the required settings, another option is to use the search function and search for “Domains”);
- In this overview, select the domain you want to receive the emails on. (Usually this will be the default domain);
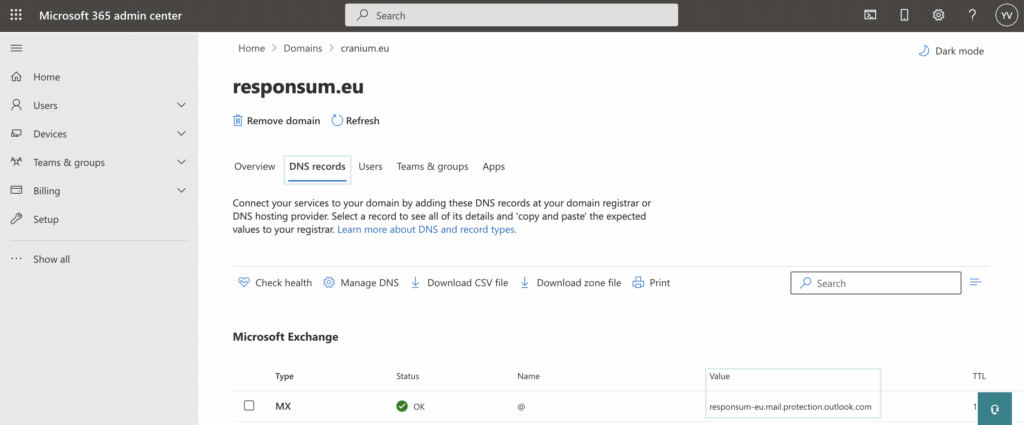
- Once selected, navigate to the “DNS Records” tab. In this set of DNS records for your mailserver search the “MX” record. This is the record that points to your Microsoft Mailservers;
- The value of this MX record is what is required to use later on in step 3, so store it somewhere so that you can use it later;
Step 3: Contact RESPONSUM Support team
As this is a custom configuration, RESPONSUM needs to make a configuration change to make the new setup operational.
Therefore, contact our support team via support@responsum.eu. They will forward your request to the correct department to process the required changes.
Provide the following information in your email to the support team:
- Your email server IP address or Hostname (the information you acquired in step 2 from the MX record value)
- It should resemble this example: responsum-eu.mail.protection.outlook.com
- A screenshot of the connector setup (as shown below)

Our support team will notify you once the configuration has been updated and the new flow can be tested. This can be done by sending out a test campaign or use the test functionality of a RESPONSUM campaign.