IMPORTANT NOTE: Since 1/12/22, our phishing IP changed from 195.81.120.238 to 5.22.210.124
Introduction
This guide will cover how to whitelist phishing campaigns sent by the RESPONSUM phishing email server in your Office 365 environment.
After following the steps in this guide, your employees working on exchange servers for mail delivery will receive our simulated phishing emails.
To keep in mind:
- We use our ispmail.link domain for DKIM email signing. So emails will originate from this domain or our IP: 5.22.210.124
- Microsoft often releases new changes that might impact email delivery to the end-user. If emails are being quarantined (to be checked in the email trace), feel free to contact us via support@responsum.eu. This way we can assist in fine-tuning the setup.
- As of July 2021 a new feature was introduced that makes whitelisting easier! Before, multiple rules needed to be configured in order to bypass SPAM filtering in Exchange, now this can all be done from one place (Read more about it here):
- Current whitelisting rules have been working until beginning of November 2021, but do now no longer suffice to avoid our emails being Quarantined.
- If you enforced the RESPONSUM whitelisting rules before November 2021, be sure to delete the previous rules and follow the guide below. The following rules can be undone:
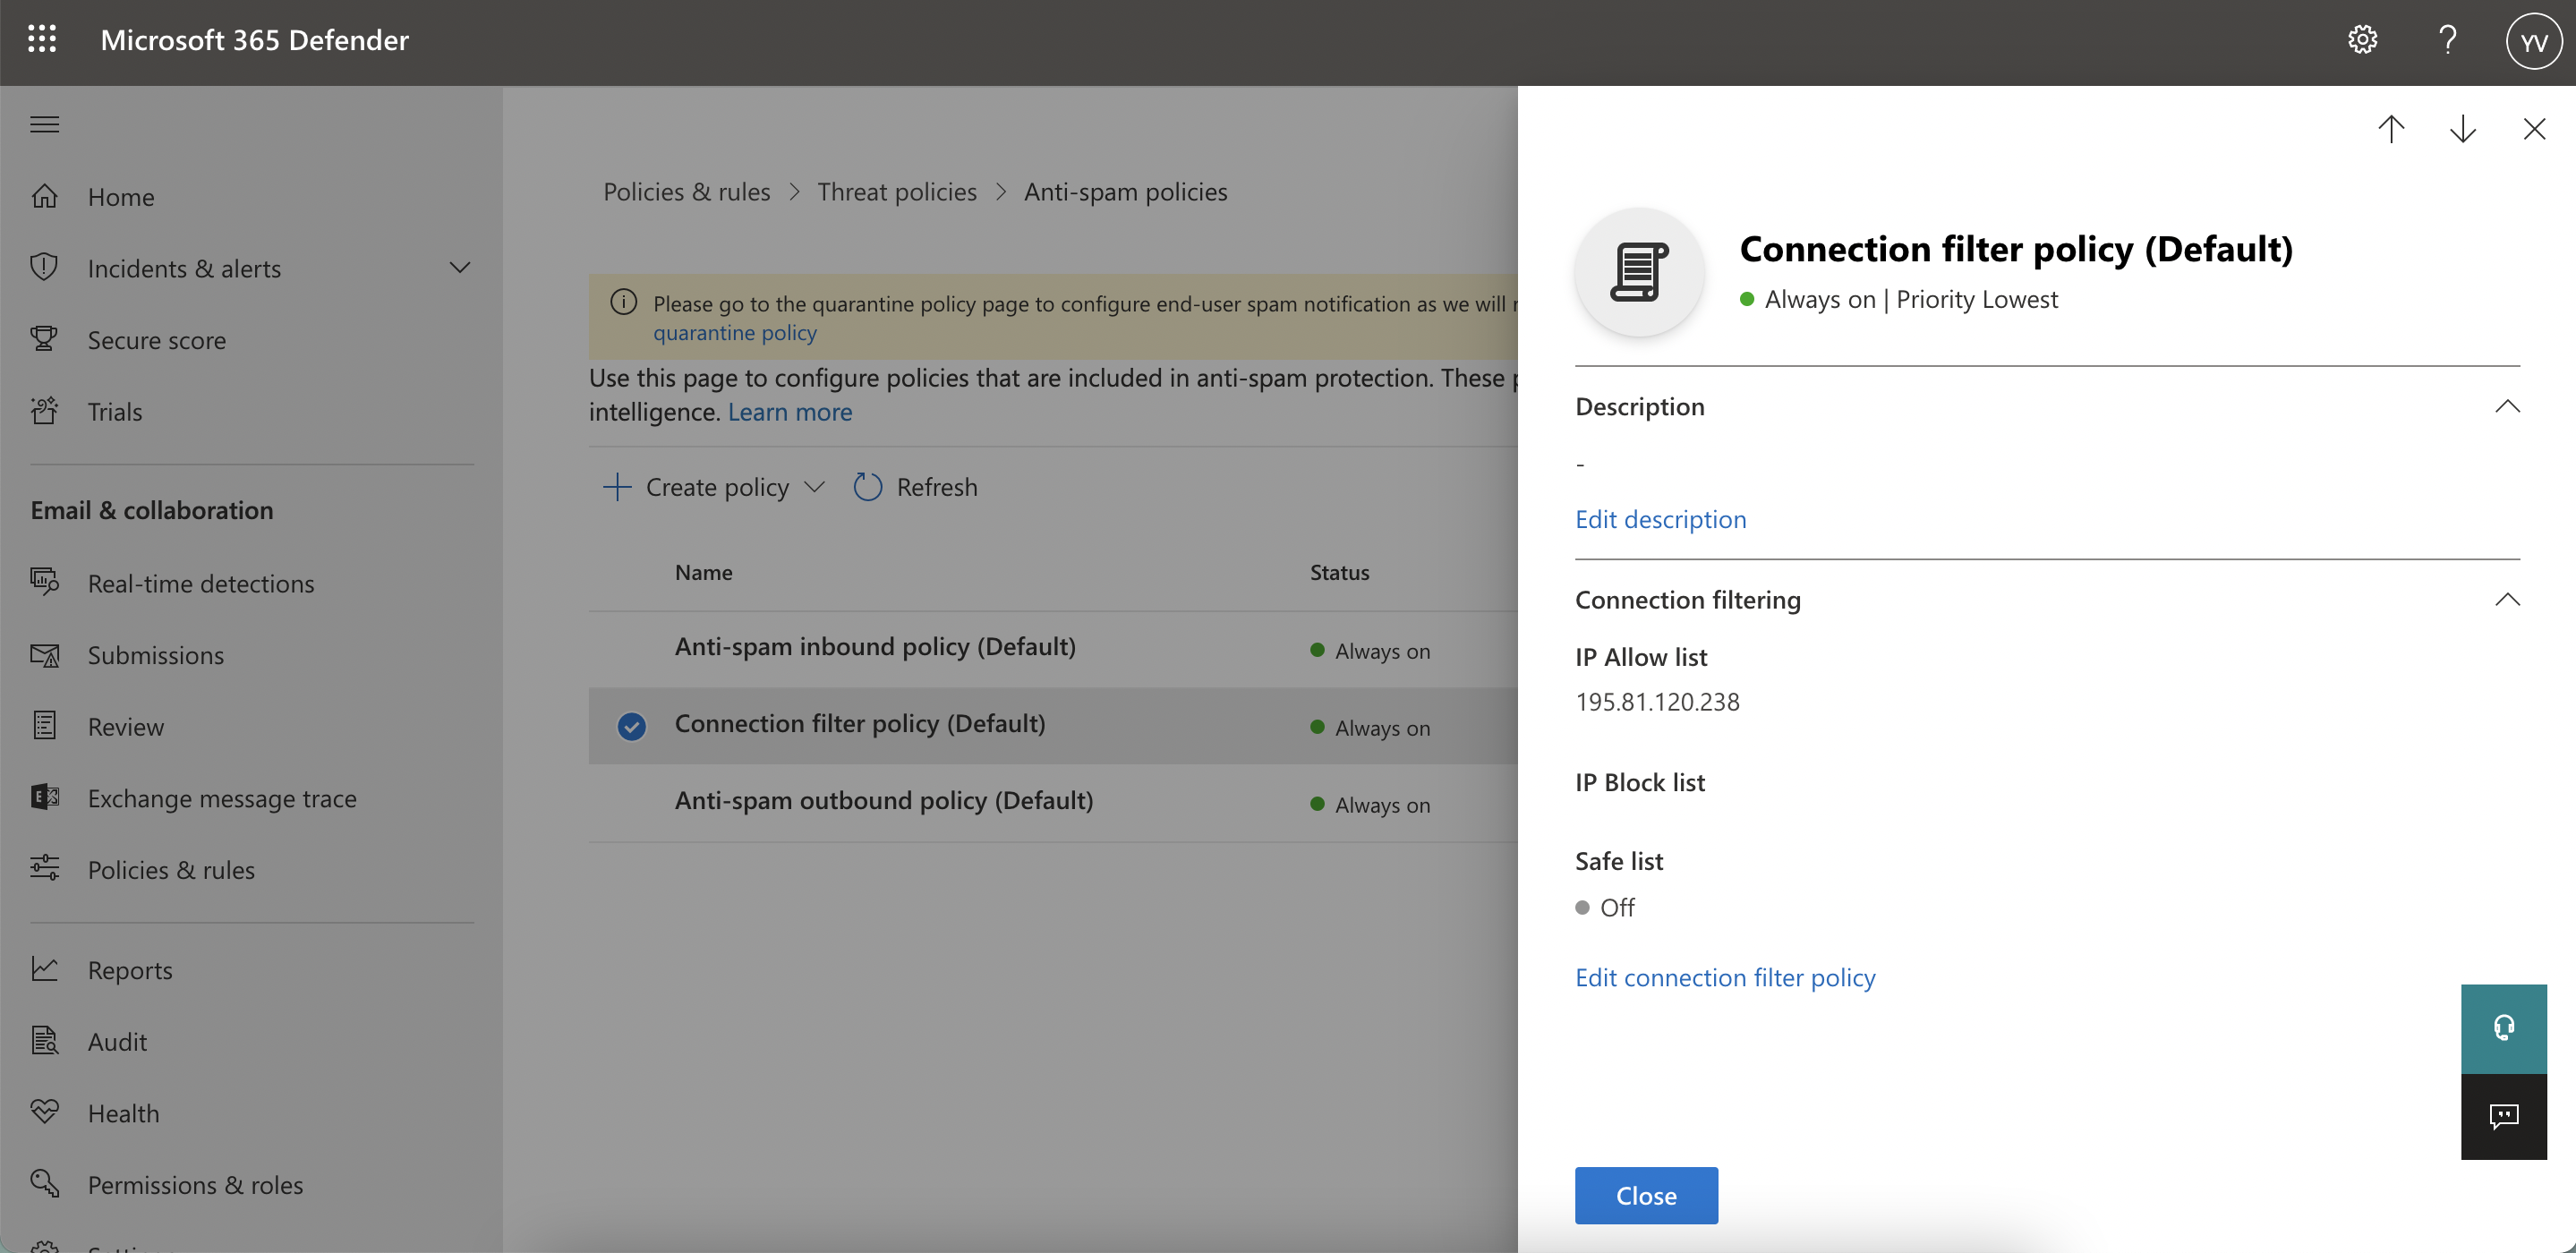
- Remove our whitelisted IP from the “Connection filter policy (Default)” that is found in the Microsoft 365 Defender admin center under “Email & Collaboration” >> “Policies & Rules” >> “Threat Policies” >> “Anti-spam policies”.
- Remove the two mail flow rules created for RESPONSUM. These can be found in the Exchange admin center under “Mailflow” >> “Rules”.

- Remove our whitelisted IP from the “Connection filter policy (Default)” that is found in the Microsoft 365 Defender admin center under “Email & Collaboration” >> “Policies & Rules” >> “Threat Policies” >> “Anti-spam policies”.
Add a Third party Phishing simulation supplier to Microsoft 365
To whitelist emails coming from RESPONSUM, add our DKIM signing domain and IP address to the “Microsoft 365 Defender Admin Center”:
- Navigate in the Microsoft 365 Defender Admin Center to:
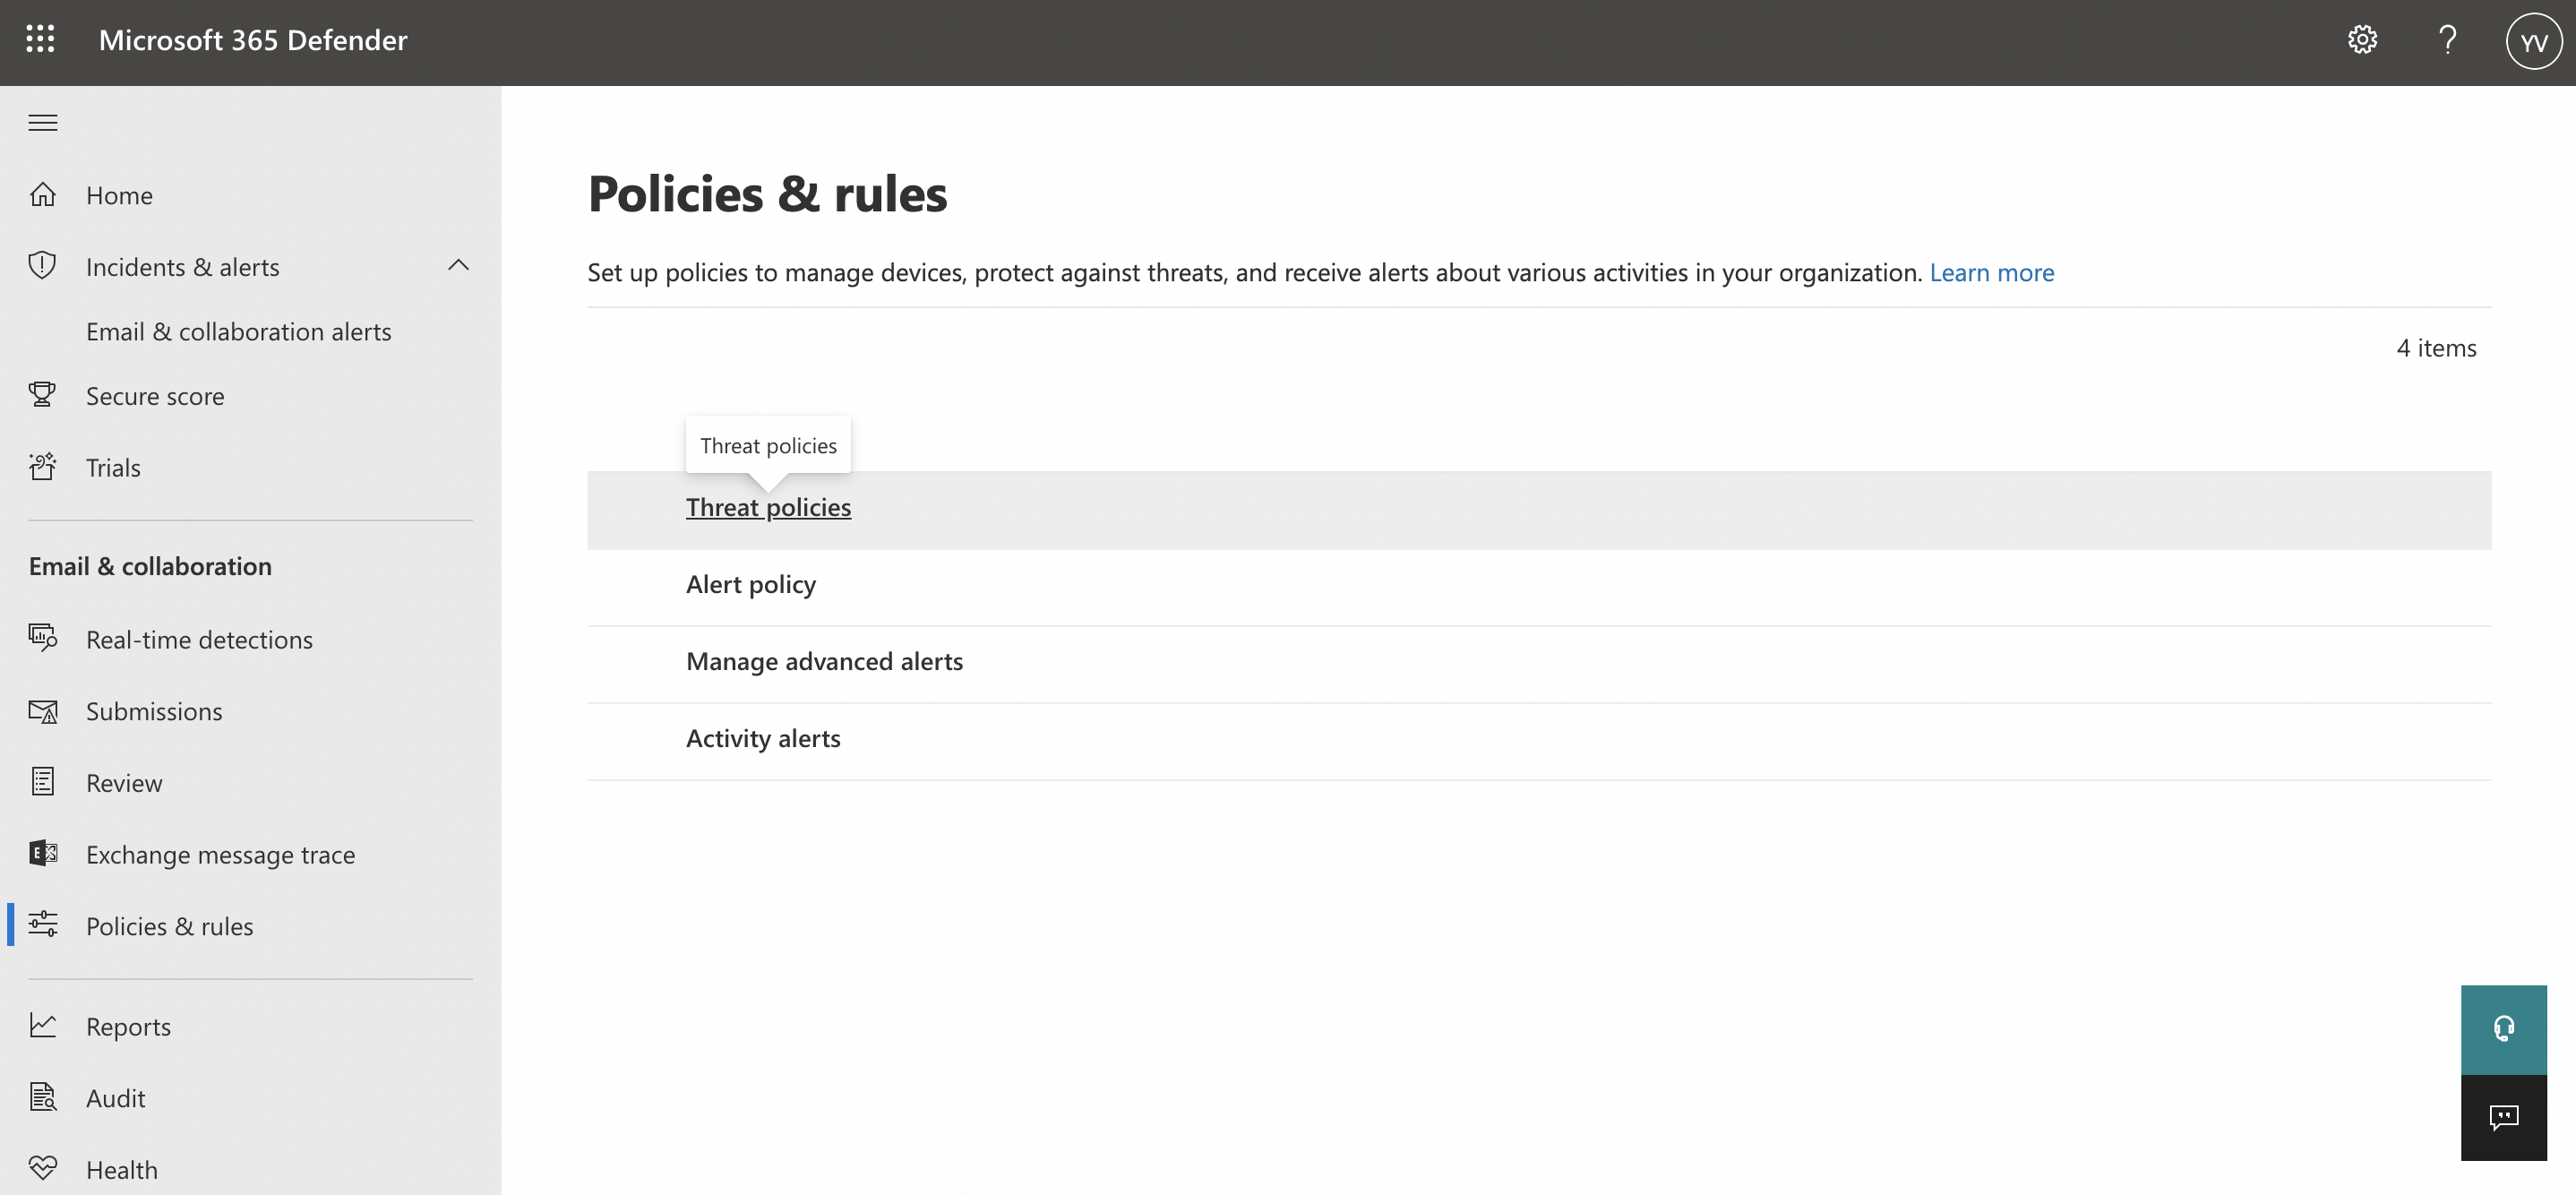
- Email & Collaboration >> Policies & Rules:

- Threat Policies:
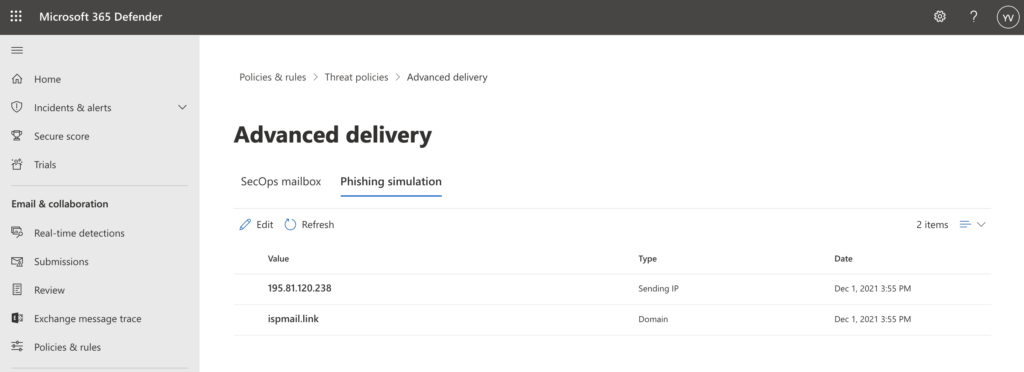
- Advanced Delivery:
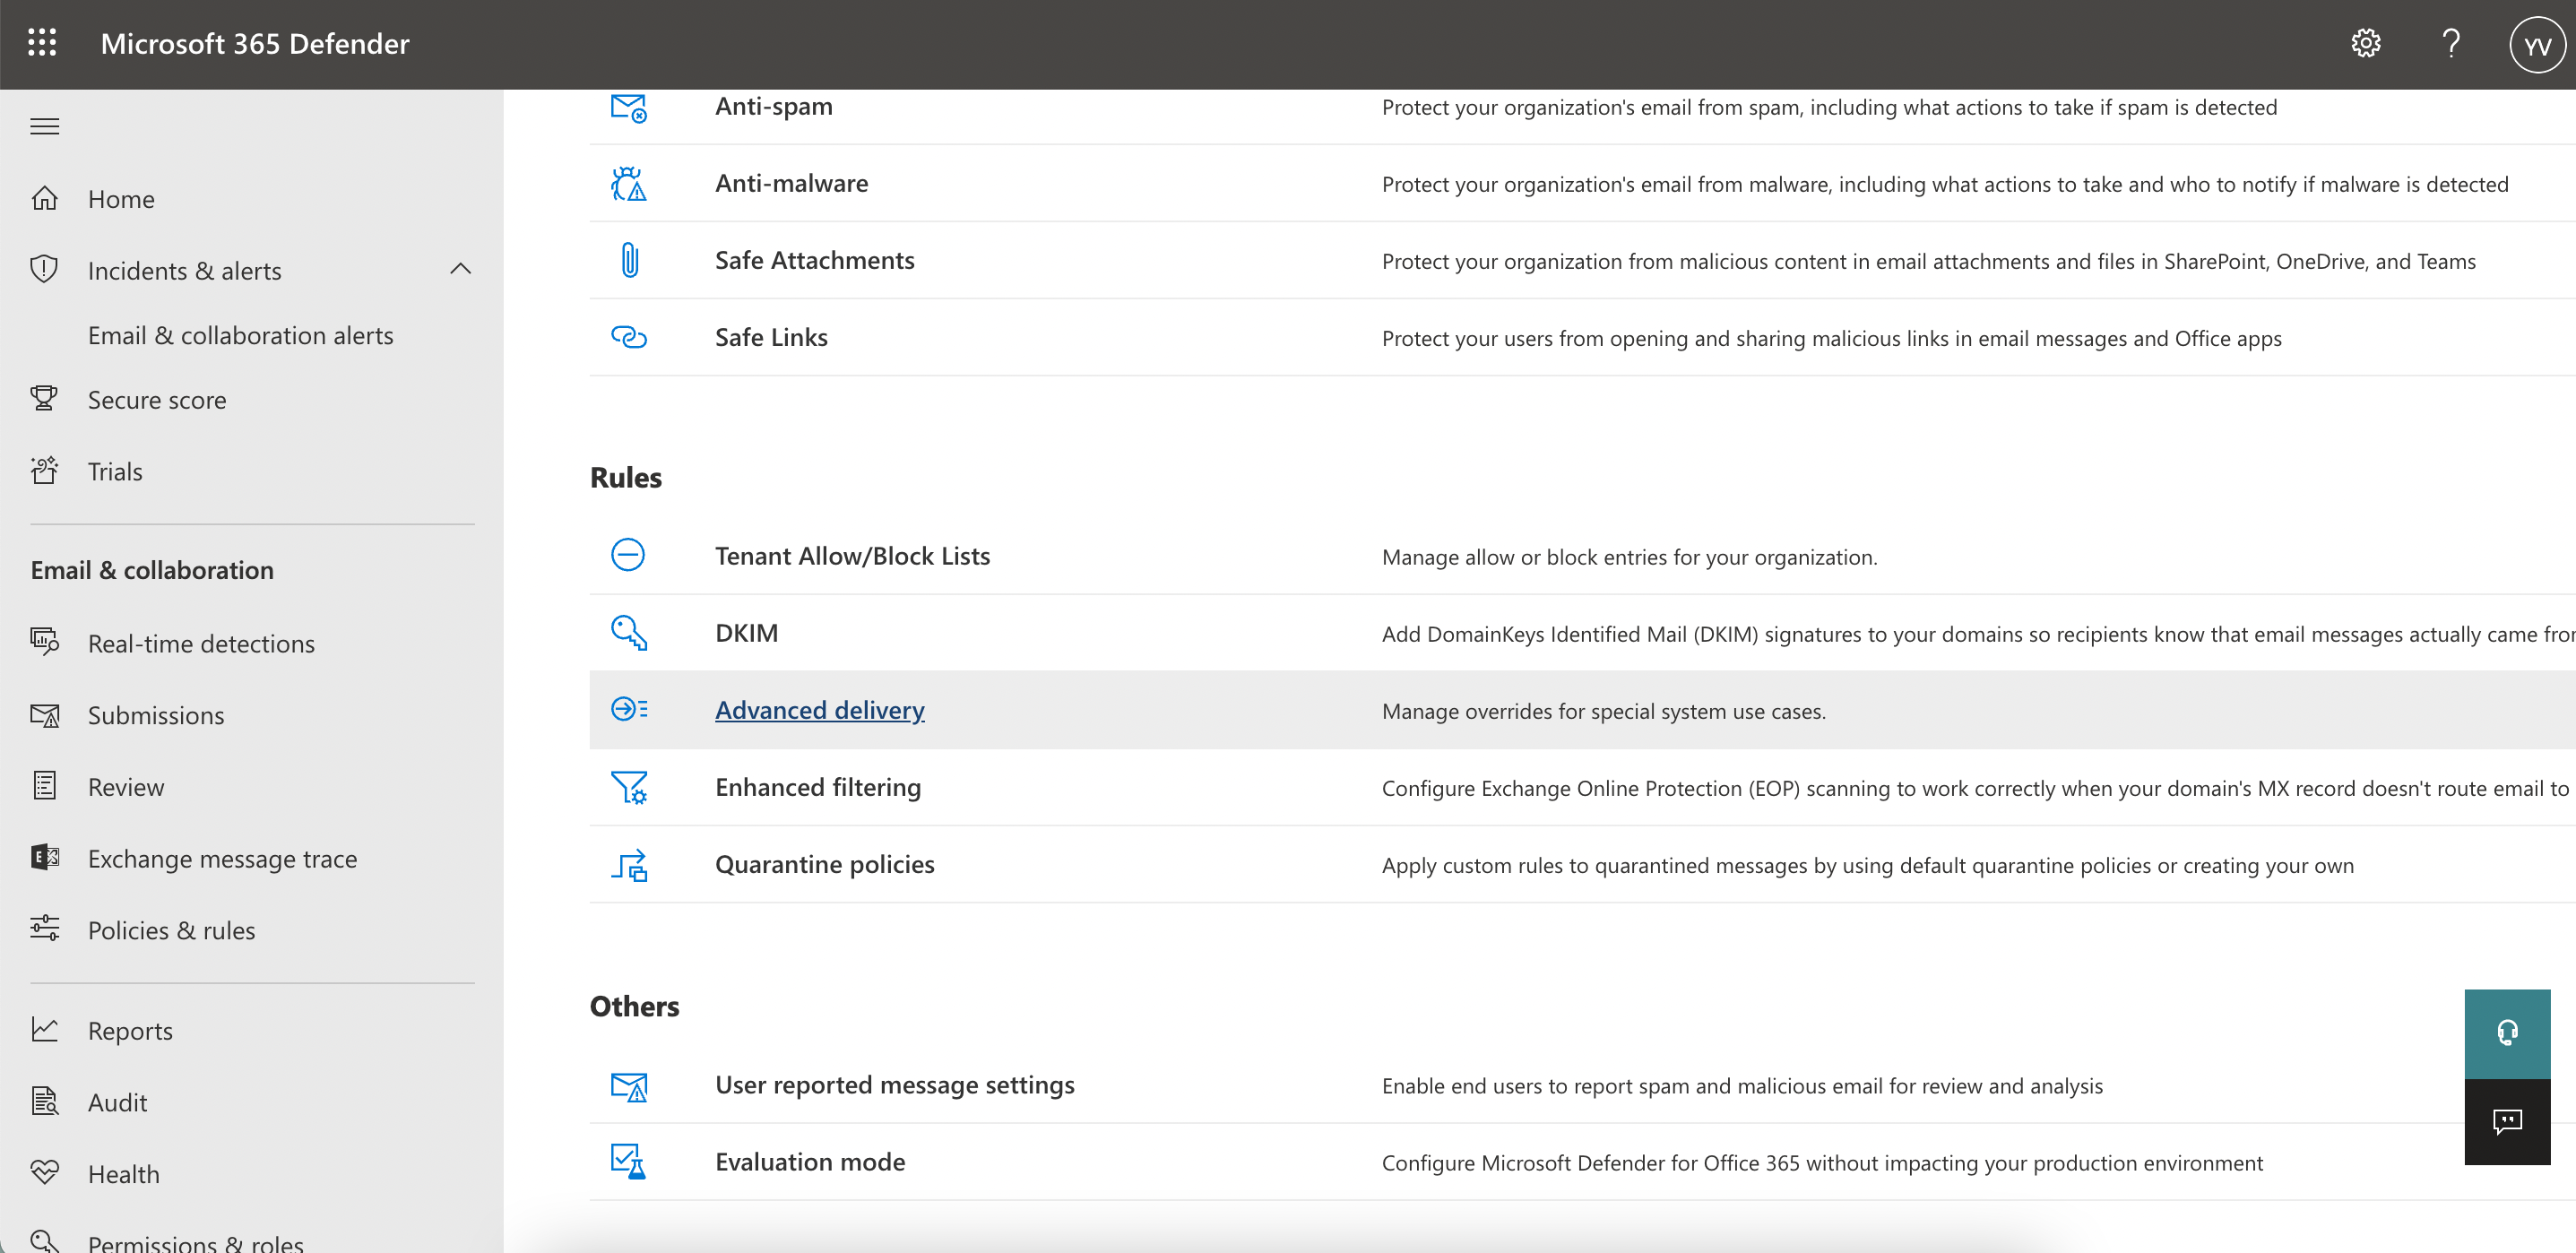
- Email & Collaboration >> Policies & Rules:
- Once in the “Advanced Delivery” section, you can select “Phishing Simulation”:
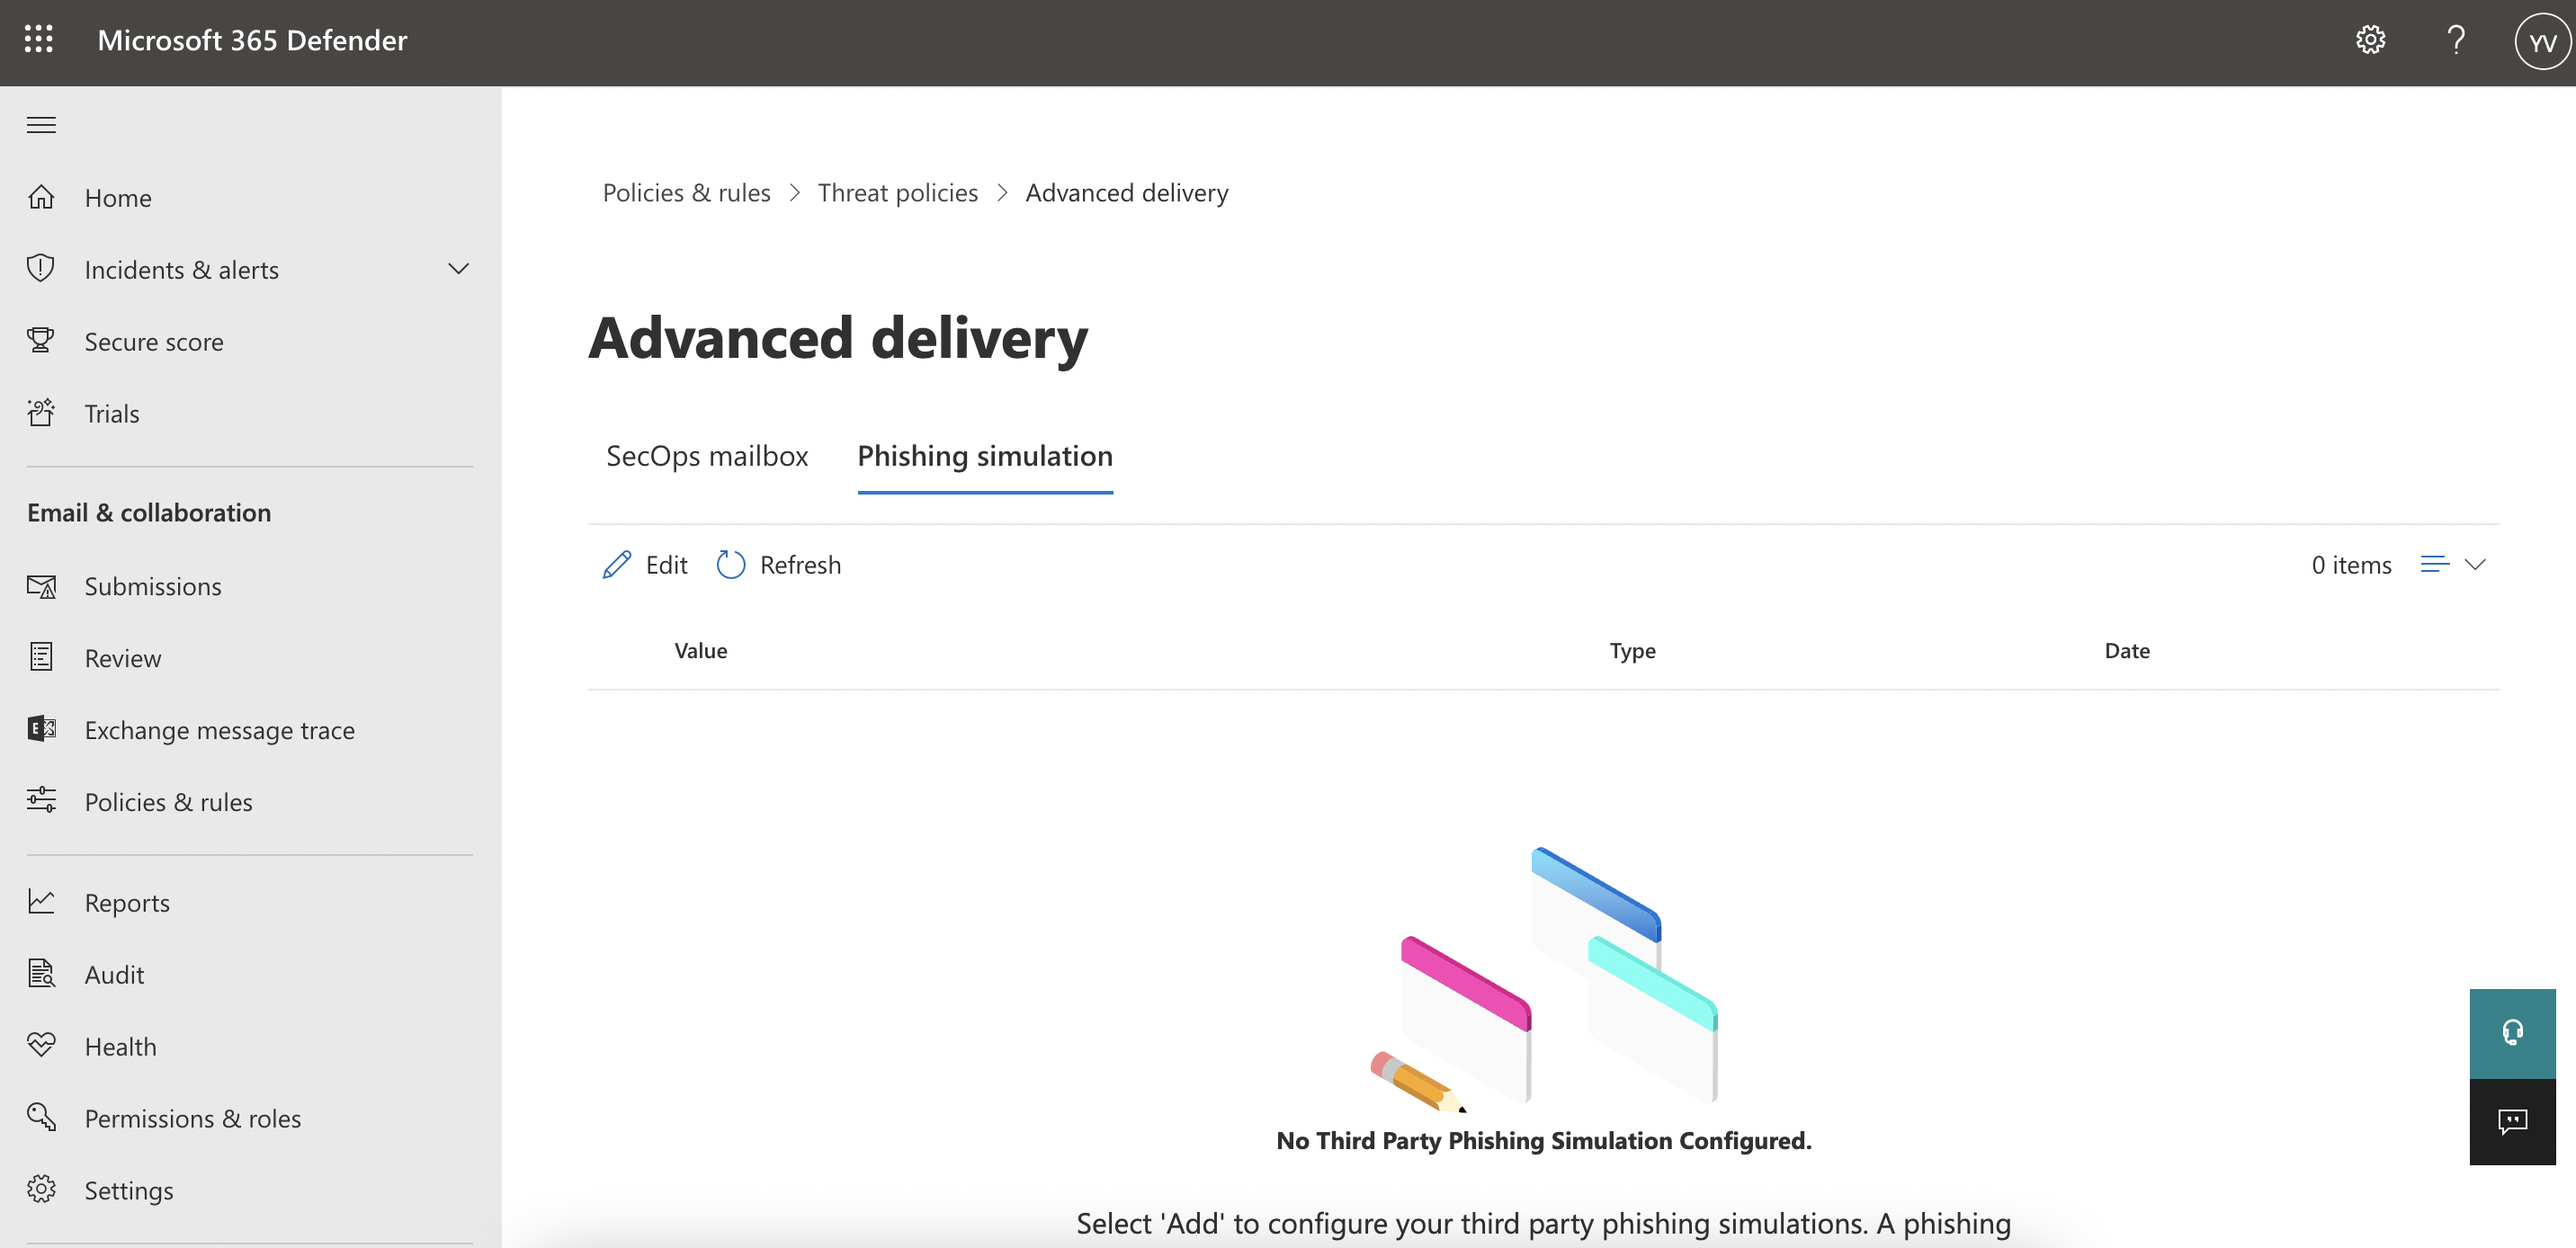
- Here you will be able to press the “Add” button and add the following details:
- Domain: ispmail.link
- Sending IP: 5.22.210.124
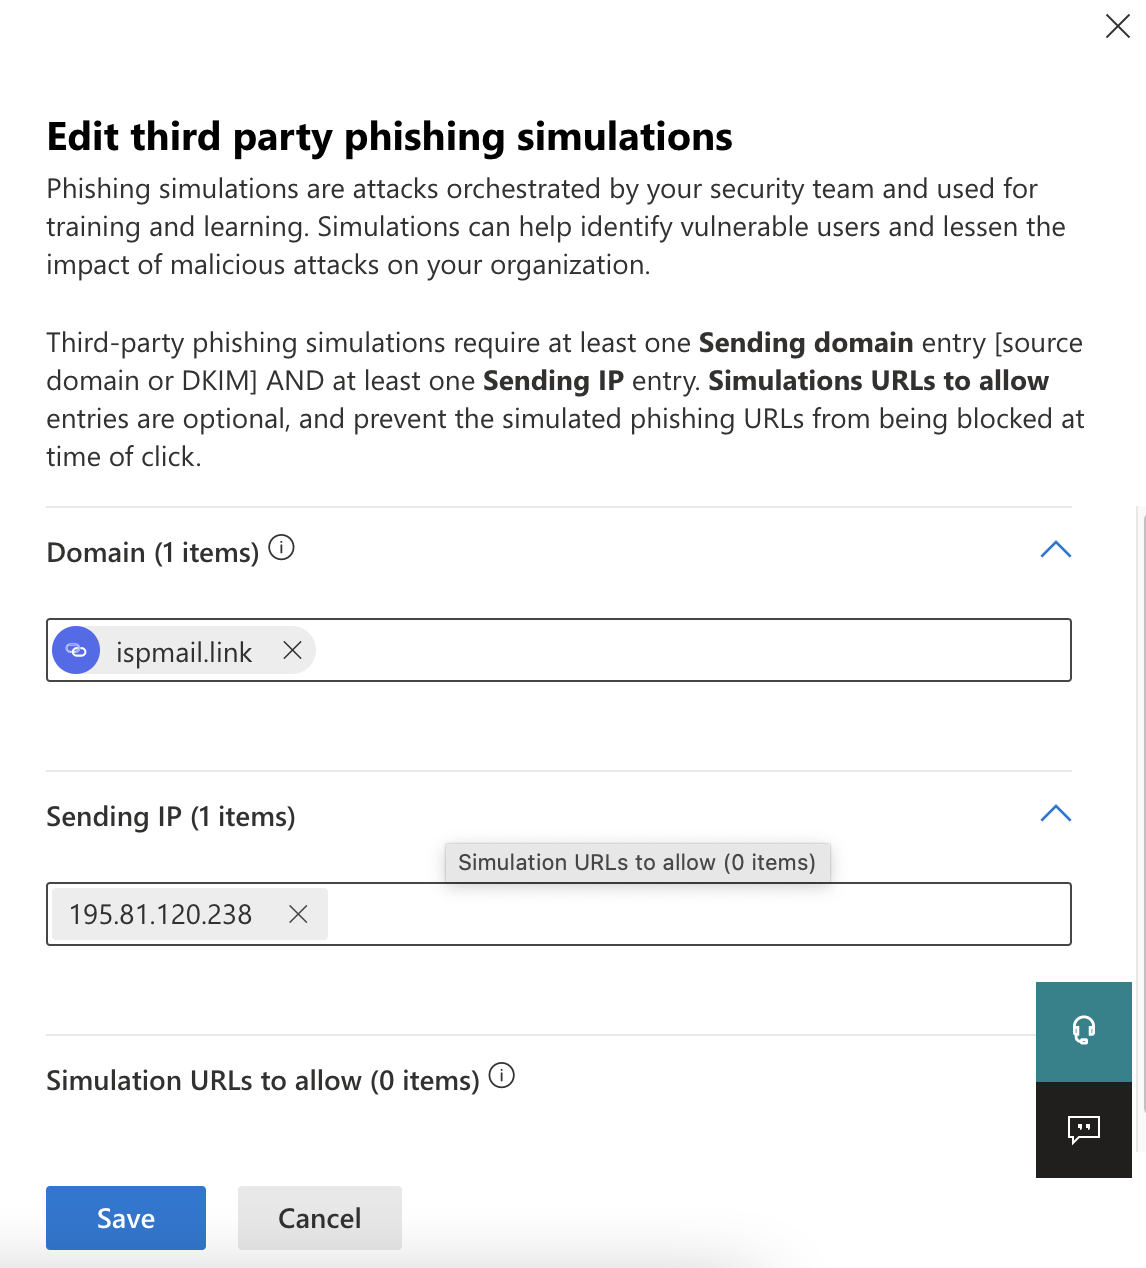
- Once done, click “Add” and the items should be saved and applied to your Microsoft environment.
Testing the applied whitelisting rules
Once the above steps have been implemented, it can take some time for the changes to take effect. Within RESPONSUM – Phishing you have the option to send out test emails when creating a new phishing campaign. Use these tests to check if the whitelisting was executed and processed correctly by Microsoft.
Other services processing email
If you have any other services that process the email before they are received by Microsoft Exchange servers (External Spam Filter…), make sure to also whitelist our IP (5.22.210.124) and DKIM signing domain (ispmail.link) with these services as they could still block our emails.