In some cases you want a custom Google SSO login flow for users within your organization as the out of the box Google (OpenID Connect based) login of RESPONSUM is not entirely what you are looking for.
This guide will show you the steps to create a Google SAML 2.0 application in order to allow login from RESPONSUM to your specific Google directory.
Step 1: Request that you want to activate a specific Google SAML SSO integration
Send us an email via support@responsum.eu with a brief description that you want to create a specific Google SAML SSO login flow for your RESPONSUM environment. As a reply back from us, you will receive two URL’s that you will need to conduct the next steps.
- The first URL is the redirect URI that will be added as “ACS URL” later and will look something like this:
- https://id.responsum.app/realms/<companyname>/broker/google/endpoint
- The second URL you will receive is our “Entity ID” and will look something like this:
- https://id.responsum.app/realms/<companyname>
- https://id.responsum.app/realms/<companyname>
Step 2: Register the app in Google Admin Portal
Create a new “Web and Mobile” app in the “Apps” section of the Google Admin portal of the type “Custom SAML app”.
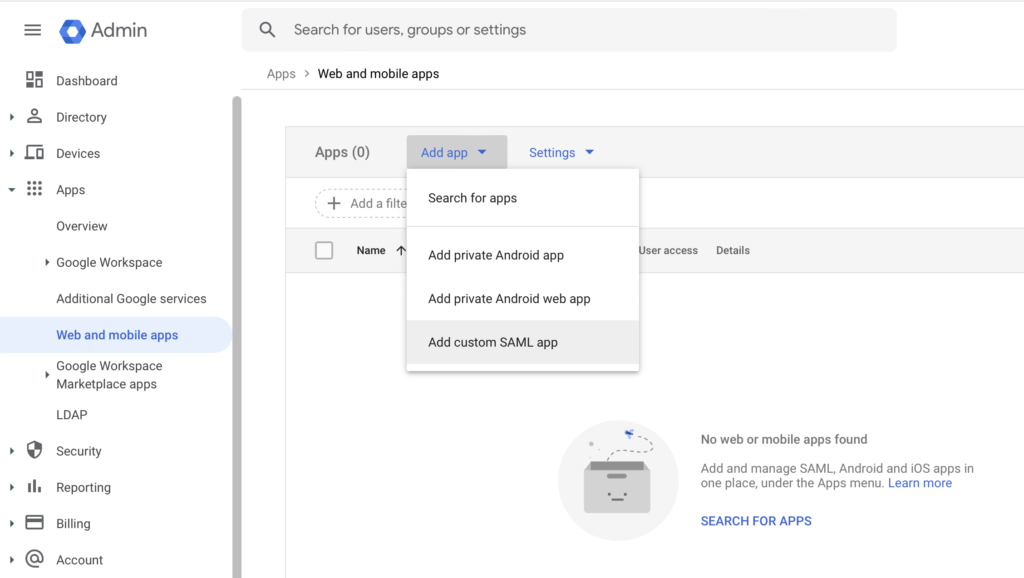
- This application can be named however you like (e.g. “RESPONSUM SSO Login”)
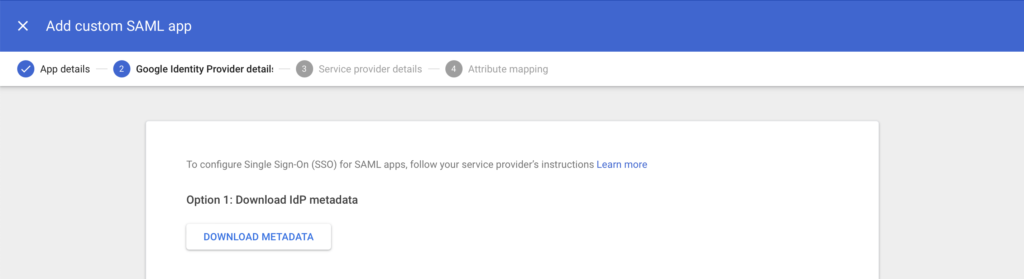
- In step 2, press the “Download meta data” button download the IDP app meta data. This file will need to be distributed to RESPONSUM later to continue setup.
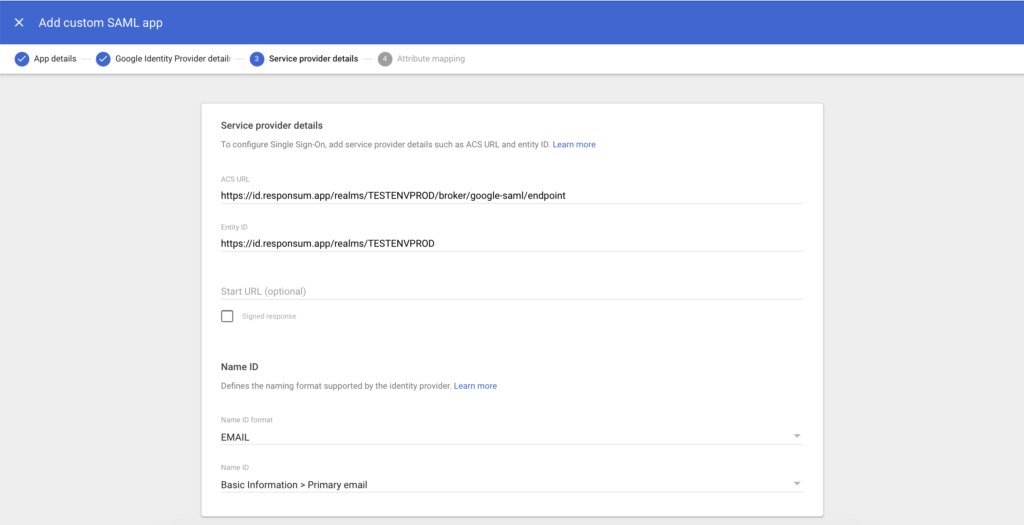
- In step 3, you will need to input the data received back from RESPONSUM in step 1 of this guide.
- Input the earlier “ACS URL” of format:
- https://id.responsum.app/realms/<companyname>/broker/google/endpoint
- Input the earlier “Entity ID” of format:
- https://id.responsum.app/realms/<companyname>
- Input the earlier “ACS URL” of format:
- Under section “Name ID” in step 3, also change “Name ID format” from “UNSPECIFIED” to “EMAIL”
- In step 4, no specific data needs to be inputted when it comes to mapping as we only need the user email to map to an account on RESPONSUM side and log the user in.
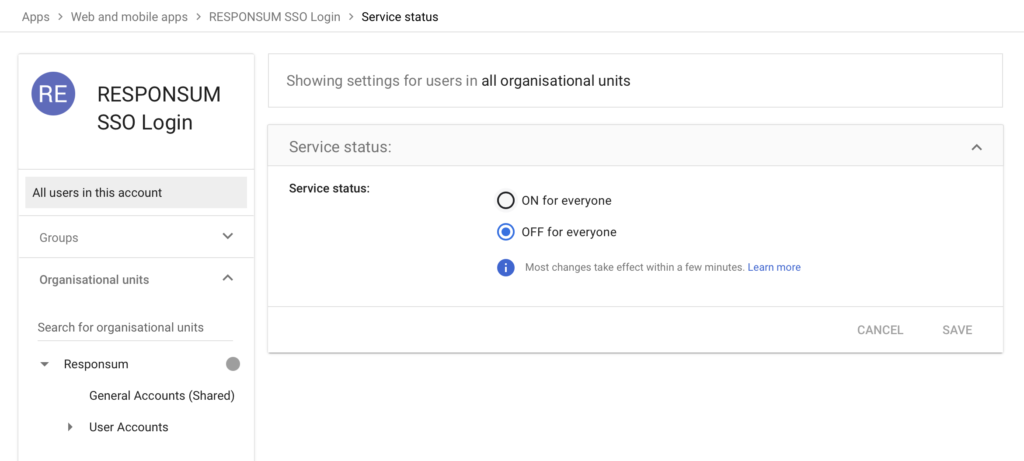
- The app can now be created, but before it is available to users, access to the app needs to be assigned to either Organizational Units or a groups.

Step 3: provide the “Metadata” file downloaded earlier to RESPONSUM Support
The meta data file you downloaded from Google in Step 2 now needs to be transferred back to RESPONSUM in order to complete the setup.
We recommend to provide the file in a separate email to support@responsum.eu. If you want additional security for the transfer of this file (as it can contain a certificate key), send us an email upfront via support@responsum.eu, and we will provide a secure upload zone where you can upload the file and provide it to us directly.
When the file is received, RESPONSUM will do the final configuration and a “Google” login button will appear on the login page of RESPONSUM. We will get back to you in a reply on one of the emails when the integration will be activated and available. After this communication, run a thorough test to see if all works as intended.
Enjoy using your specific Google SAML SSO flow for login to RESPONSUM!